Full Stud Conversion Kit for BMW E Series by Bimecc
Enhance your vehicle's performance and aesthetics with the Bimecc M12x1.5 Wheel Stud & Nut Conversion Kit, a must-have for those running Bimecc's eye-catching anodised wheel spacers. This comprehensive kit is designed to seamlessly fit a variety of vehicles, offering a perfect blend of style and functionality.
For optimal performance and safety, it is recommended to use Loctite Blue threadlocker. Apply it to the studs and torque them to 20–25 Nm. When securing the wheel nuts, always follow the manufacturer's specified torque settings to ensure proper installation and reliability.
Choose the Perfect Size for Your Vehicle:
- 68mm Studs: Ideal for vehicles running 0-12mm spacers, ensuring a snug fit and optimal alignment.
- 75mm Studs: Tailored for vehicles running up to 15mm spacers, providing the perfect balance and stability.
- 82mm Studs: Designed for vehicles running up to 20mm spacers, offering enhanced support and performance.
Black Anodised Finish: This sleek finish not only adds a touch of elegance but also provides an extra layer of protection against wear and tear.
What's Included
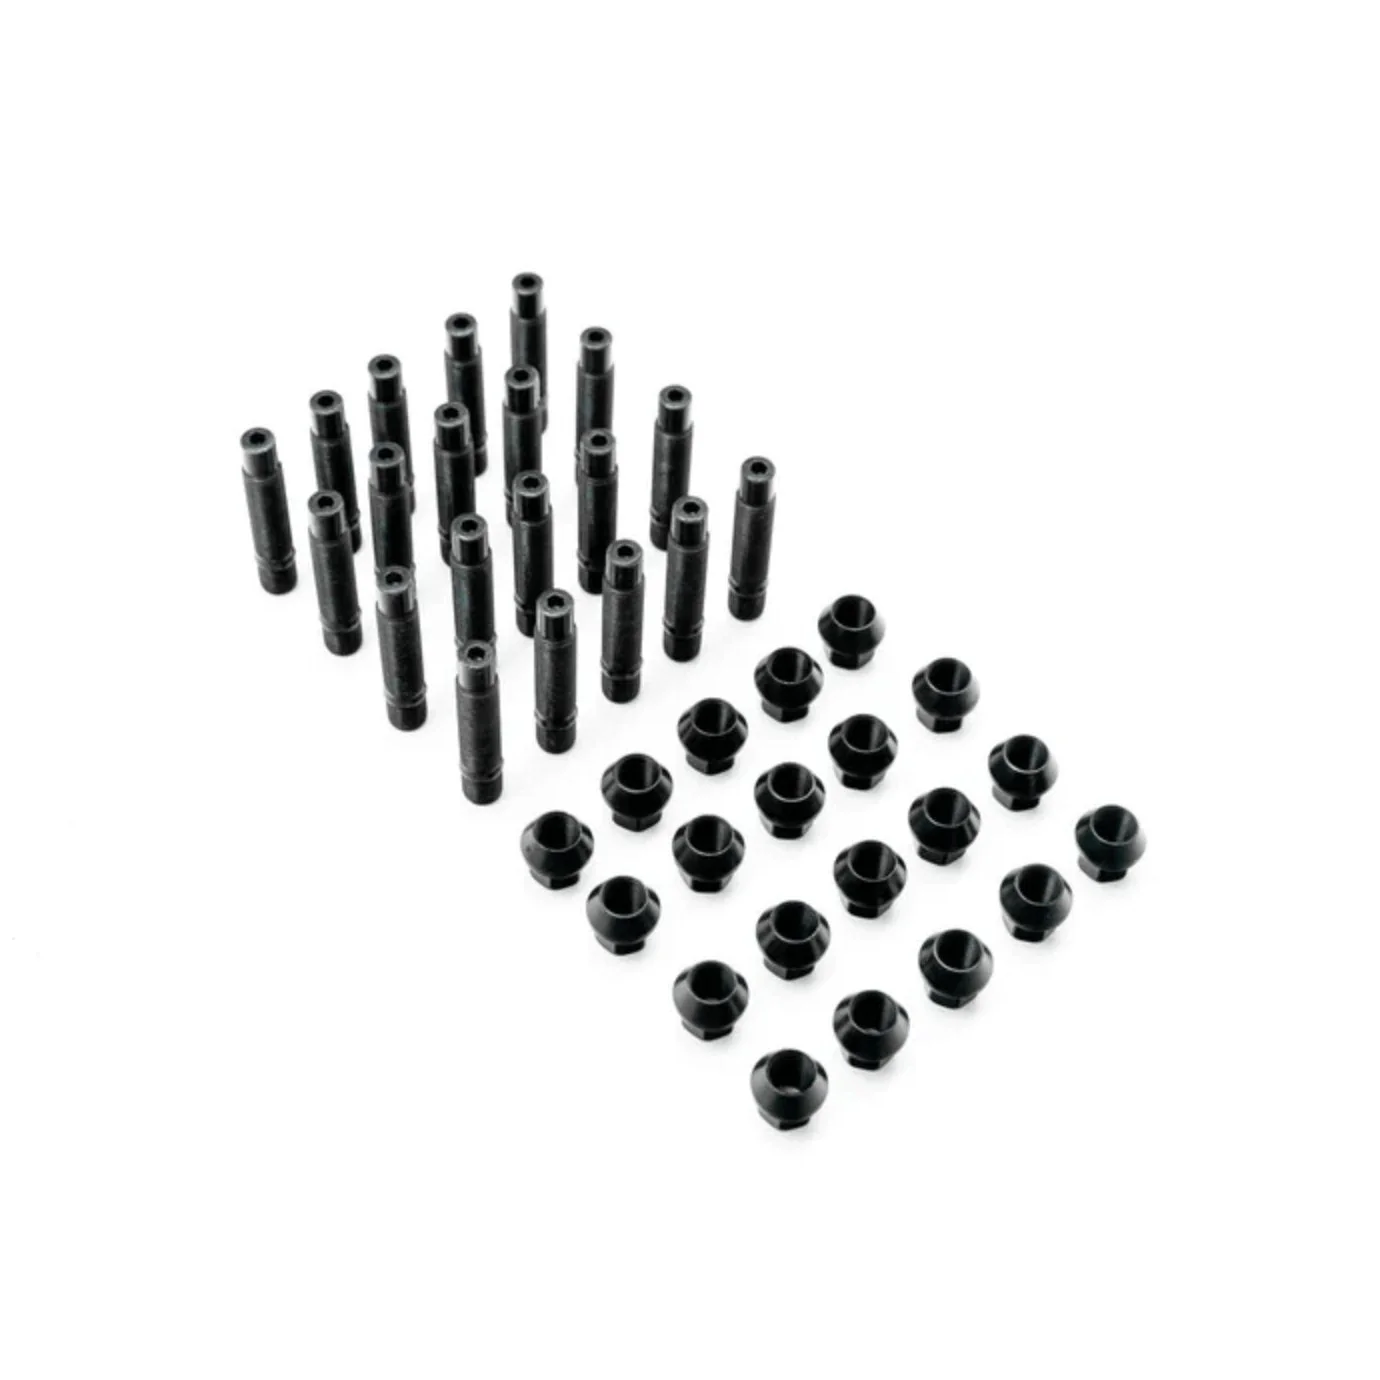
- 20 x Steel Studs
- 20 x Nuts
How to install
Fitting Instructions Professional installation is recommended for this product.
Tools & Consumables Required
- Thread Chasing Tool (vehicle-specific sizing)
- Penetrating Oil (e.g. WD-40)
- Brake Cleaner
- Clean Cloths
- Wire Brush
- Thread Lock (e.g. Permatex 8179)
- Calibrated Torque Wrench and Appropriate Sockets
Installation
Step 1 — Clean the Hub Use a wire brush to remove all rust and corrosion from the hub face and ring. Chase the threads using penetrating oil and a thread chasing tool, then flush thoroughly with brake cleaner until it runs clear. Wipe down with a clean cloth and allow to fully evaporate.
Step 2 — Prep the Studs Apply brake cleaner to each new stud, wipe clean, and leave for approximately 1 minute to evaporate.
Step 3 — Check Stud Hole Depth Before installing, manually thread one stud (short end first) into each hole to confirm it doesn't bottom out. If unsure, use a pen or thin probe to measure the usable depth — it must be at least equal to the stud length. Check every hole, as broken bolt remnants or debris may be present.
Step 4 — Apply Thread Lock & Install Studs Apply a small amount of thread lock to the tip and ~5mm down the shorter threaded section of each stud. Hand-tighten into the hub. Thread one nut halfway down the stud, then thread a second nut up against it with the cones facing each other. Lock the two nuts together with the correct socket, then torque the stud to 32Nm using a torque wrench on the outer nut. Repeat for all studs.
Thread lock takes ~1 hour to set and 24 hours to fully cure.
Step 5 — Mount the Wheel No additional consumables needed. Install the wheel and hand-tighten all nuts. Tighten in a star pattern (working diagonally opposite each time), then lower the vehicle and torque all nuts to 122Nm, again in a star pattern.
Step 6 — Re-check Torque Recheck torque after 100 miles or your first track session. AUTOID recommends replacing your studs annually as part of routine maintenance.
TUV Certification
Bimecc products are produced under the certification of TUV ISO 9001 & TUV IATF 1969.
The wheel spacers are not TUV certified by vehicle application as required by law in some European states when modifying from standard.
Click here
Compatibility
- BMW E Series
Original: $85.00
-65%$85.00
$29.75Product Information
Product Information
Shipping & Returns
Shipping & Returns
Description
Enhance your vehicle's performance and aesthetics with the Bimecc M12x1.5 Wheel Stud & Nut Conversion Kit, a must-have for those running Bimecc's eye-catching anodised wheel spacers. This comprehensive kit is designed to seamlessly fit a variety of vehicles, offering a perfect blend of style and functionality.
For optimal performance and safety, it is recommended to use Loctite Blue threadlocker. Apply it to the studs and torque them to 20–25 Nm. When securing the wheel nuts, always follow the manufacturer's specified torque settings to ensure proper installation and reliability.
Choose the Perfect Size for Your Vehicle:
- 68mm Studs: Ideal for vehicles running 0-12mm spacers, ensuring a snug fit and optimal alignment.
- 75mm Studs: Tailored for vehicles running up to 15mm spacers, providing the perfect balance and stability.
- 82mm Studs: Designed for vehicles running up to 20mm spacers, offering enhanced support and performance.
Black Anodised Finish: This sleek finish not only adds a touch of elegance but also provides an extra layer of protection against wear and tear.
What's Included
- 20 x Steel Studs
- 20 x Nuts
How to install
Fitting Instructions Professional installation is recommended for this product.
Tools & Consumables Required
- Thread Chasing Tool (vehicle-specific sizing)
- Penetrating Oil (e.g. WD-40)
- Brake Cleaner
- Clean Cloths
- Wire Brush
- Thread Lock (e.g. Permatex 8179)
- Calibrated Torque Wrench and Appropriate Sockets
Installation
Step 1 — Clean the Hub Use a wire brush to remove all rust and corrosion from the hub face and ring. Chase the threads using penetrating oil and a thread chasing tool, then flush thoroughly with brake cleaner until it runs clear. Wipe down with a clean cloth and allow to fully evaporate.
Step 2 — Prep the Studs Apply brake cleaner to each new stud, wipe clean, and leave for approximately 1 minute to evaporate.
Step 3 — Check Stud Hole Depth Before installing, manually thread one stud (short end first) into each hole to confirm it doesn't bottom out. If unsure, use a pen or thin probe to measure the usable depth — it must be at least equal to the stud length. Check every hole, as broken bolt remnants or debris may be present.
Step 4 — Apply Thread Lock & Install Studs Apply a small amount of thread lock to the tip and ~5mm down the shorter threaded section of each stud. Hand-tighten into the hub. Thread one nut halfway down the stud, then thread a second nut up against it with the cones facing each other. Lock the two nuts together with the correct socket, then torque the stud to 32Nm using a torque wrench on the outer nut. Repeat for all studs.
Thread lock takes ~1 hour to set and 24 hours to fully cure.
Step 5 — Mount the Wheel No additional consumables needed. Install the wheel and hand-tighten all nuts. Tighten in a star pattern (working diagonally opposite each time), then lower the vehicle and torque all nuts to 122Nm, again in a star pattern.
Step 6 — Re-check Torque Recheck torque after 100 miles or your first track session. AUTOID recommends replacing your studs annually as part of routine maintenance.
TUV Certification
Bimecc products are produced under the certification of TUV ISO 9001 & TUV IATF 1969.
The wheel spacers are not TUV certified by vehicle application as required by law in some European states when modifying from standard.
Click here
Compatibility
- BMW E Series